Toyota RAV4 (XA40) 2013-2018 Service Manual: Child restraint seat tether anchor
Components
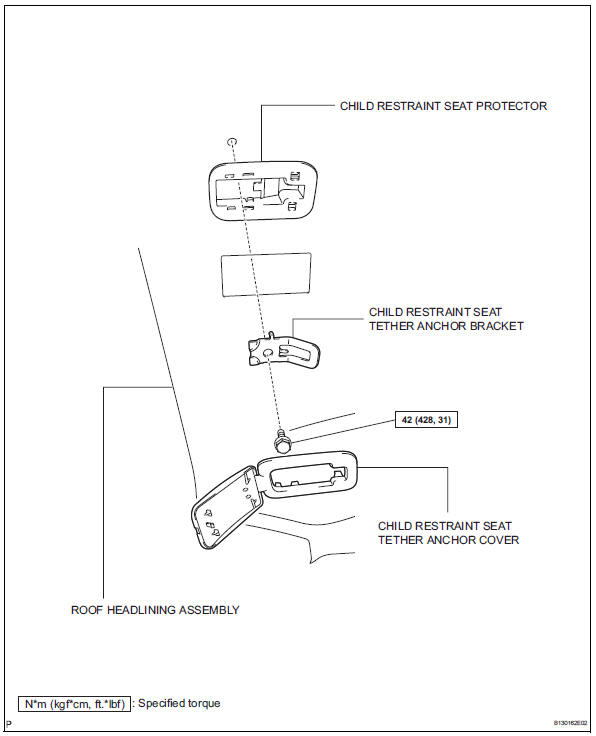


Removal
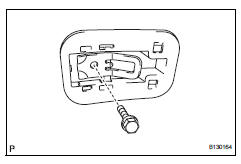
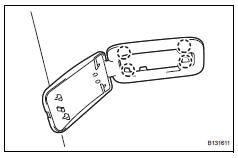
- Remove child restraint seat tether anchor cover
- Using a screwdriver, detach the 4 claws and remove the cover.
Hint:
Tape the screwdriver tip before use.
- Remove roof headlining assembly
Hint:
It is not necessary to completely remove the roof headlining. Slightly lower the rear section of the roof headlining.
- Partially remove the roof headlining (see page ir- 26).
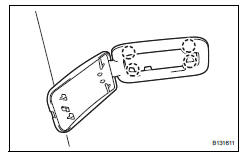
- Remove child restraint seat tether anchor bracket
- Remove the bolt and bracket.
- Remove child restraint seat protector
Installation
- Install child restraint seat protector
- Install child restraint seat tether anchor bracket
- Align the claws with the positioning holes, and install
the bracket with the bolt.
Torque: 42 n*m (428 kgf*cm, 31 ft.*Lbf)
- Install roof headlining assembly
- Install the roof headlining (see page ir-49).
- Install child restraint seat tether anchor cover
- Install the cover with the 4 claws.
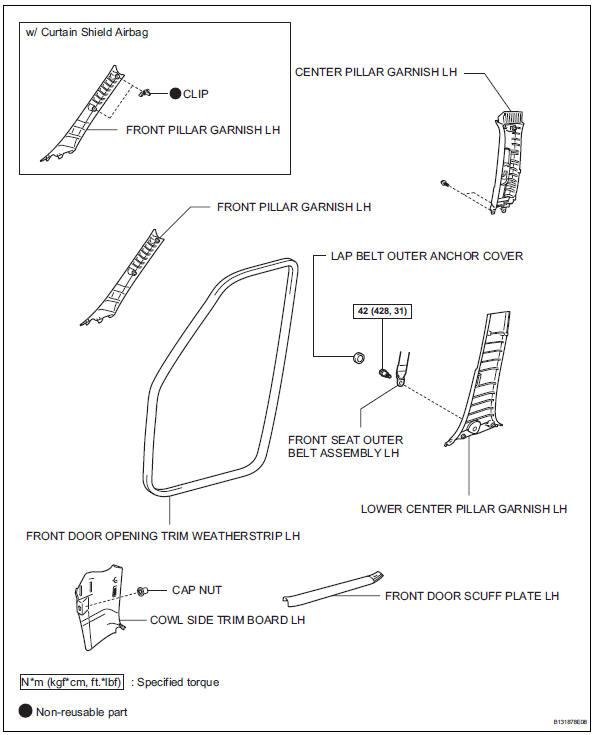
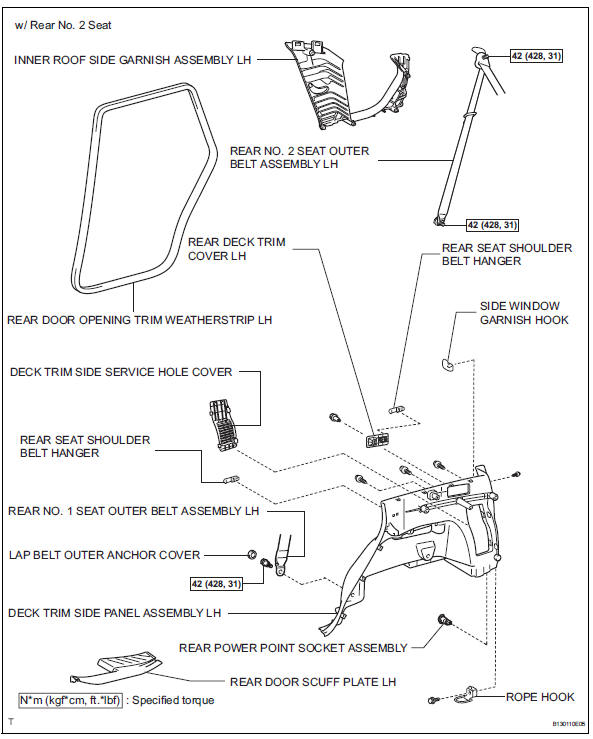
 Rear center seat outer belt assembly
Components
Removal
Caution:
Wait at least 90 seconds after disconnecting the cable
from the negative (-) battery terminal to prevent airbag
and seat be ...
 Sliding roof
...
Other materials:
Engine compartment
Engine coolant reservoir
Engine oil filler cap
Battery
Brake fluid reservoir
Fuse box
Radiator
Condenser
Electric cooling fans
Engine oil level dipstick
Washer fluid tank
Engine oil
With the engine at operating temperature and turned off, check the oil
level on the dips ...
Exhaust gas precautions
Harmful substance to the human body is included in exhaust
gases if inhale.
Caution
Exhaust gases include harmful carbon monoxide (co), which is colorless and
odorless. Observe the following precautions.
Failure to do so may cause exhaust gases enter the vehicle and may lead to
an accident c ...
Ig power supply voltage malfunction
Description
The power steering ecu distinguishes the ignition switch status as on or off
through the ig power
source circuit.
Wiring diagram
Inspection procedure
Read value of intelligent tester (ig power supply)
Connect the intelligent tester (with can vim) to the
dlc3.
...
