Toyota RAV4 (XA40) 2013-2018 Service Manual: Luggage room light
Components
Removal
- Disconnect cable from negative battery terminal
Caution:
Wait at least 90 seconds after disconnecting the cable from the negative (-) battery terminal to prevent airbag and seat belt pretensioner activation.
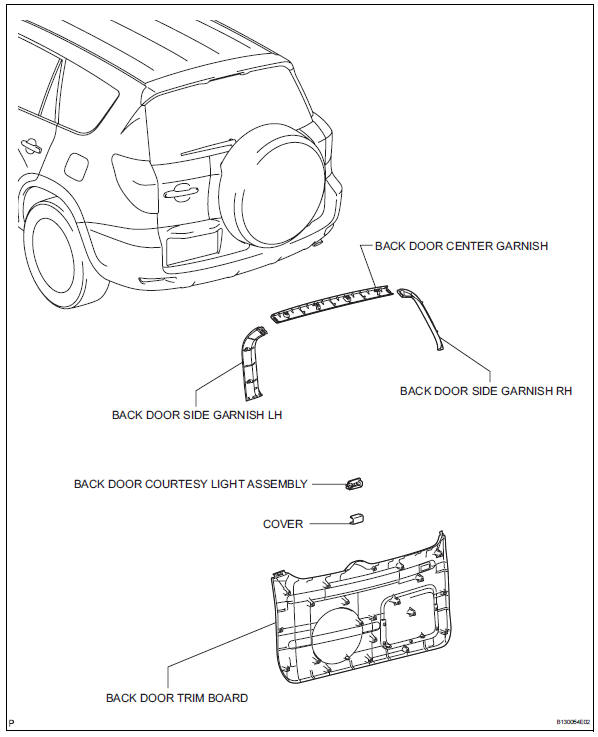
- Remove back door center garnish (see page ed-59)
- Remove back door side garnish lh (see page ed-59)
- Remove back door side garnish rh (see page ed-59)
- Remove back door trim board (see page ed- 59)
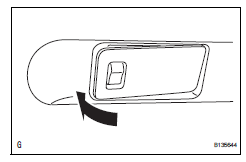
- Remove back door courtesy light assembly
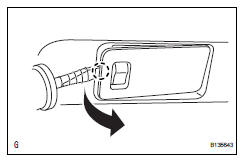
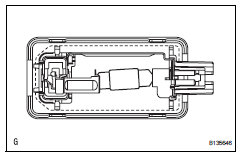
- Using a screwdriver, pry out the light as shown in the illustration.
Hint:
Tape the screwdriver tip before use.
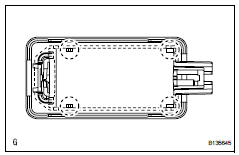
- detach the 4 claws and remove the light shade.
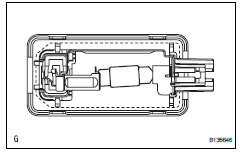
- Remove the light bulb from the light.
Installation
- Install back door courtesy light assembly
- Install the bulb to the light.
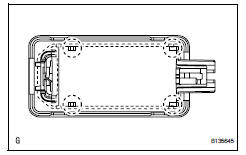
- Attach the 4 claws to install the light shade.
- Install the light as shown in the illustration.
- Install back door trim board (see page ed- 66)
- Install back door side garnish rh (see page ed-67)
- Install back door side garnish lh (see page ed-67)
- Install back door center garnish (see page ed-67)
- Connect cable to negative battery terminal
 Room light assembly
Components
Removal
Disconnect cable from negative battery
terminal
Caution:
Wait at least 90 seconds after disconnecting the
cable from the negative (-) battery terminal to
prevent ai ...
 Ignition key cylinder light
Components
Removal
Disconnect cable from negative battery
Caution:
Wait at least 90 seconds after disconnecting the
cable from the negative (-) battery terminal to
prevent airbag and se ...
Other materials:
Sleep operation failure of occupant classification ecu
Description
During sleep mode, the occupant classification ecu reads the condition of
each sensor while the ignition
switch is off.
In this mode, if the occupant classification ecu detects an internal
malfunction, dtc b1796 is output.
Inspection procedure
Check for dtc
T ...
How to proceed with troubleshooting
Hint:
Use these procedures to troubleshoot the seat belt
warning system.
*: Use the intelligent tester.
Vehicle brought to workshop
Inspect battery voltage
Standard voltage:
11 to 14 v
If the voltage is below 11 v, recharge or replace the battery
before proceeding.
...
System diagram
System diagram (2005/11-2006/01)
System diagram (2006/01- )
...
