Toyota RAV4 (XA40) 2013-2018 Service Manual: Brake rear brake flexible hose
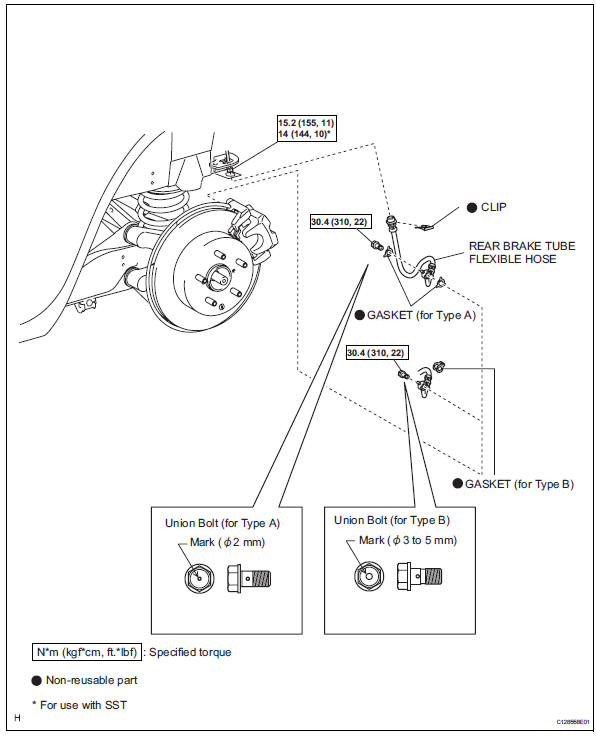
Components
Removal
Hint:
- Use the same procedures for the lh side and rh side.
- The procedures listed below are for the lh side.
- Remove rear wheel
- Drain brake fluid
Notice:
Wash off brake fluid immediately if it comes in contact with any painted surface.
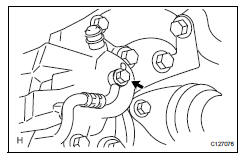
- Remove rear brake tube flexible hose
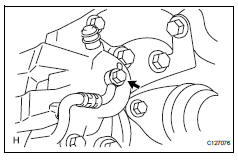
- Disconnect the brake tube (labeled a) from the flexible hose with sst while holding the flexible hose with a wrench.
Sst 09023-00101
Notice:
- Do not bend or damage the brake tube.
- Do not allow any foreign matter such as dirt and dust to enter the brake tube from the connecting point.
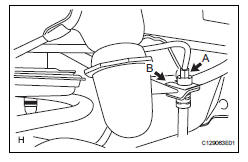
- Remove the clip (labeled b).
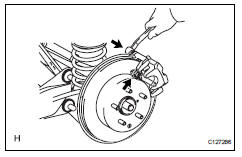
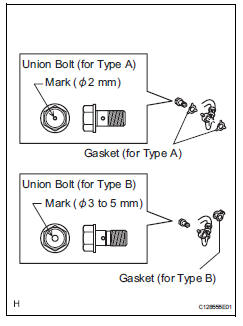
- Remove the union bolt and gasket(s), and then remove the flexible hose from the disc brake cylinder.
Installation
Hint:
- Use the same procedures for the lh side and rh side.
- The procedures listed below are for the lh side.
- Install rear disc brake cylinder assembly lh

- Apply silicon grease (multemp si-b) on the contact surfaces of the cylinder parts indicated by the arrows.
- Install the cylinder with the 2 bolts.
Torque: 26.5 N*m (270 kgf*cm, 20 ft.*Lbf)
- Connect rear flexible hose lh
Notice:
The gasket and union bolt must be used as a set, as shown in the illustration.
- Connect the flexible hose with new gasket(s) and the union bolt.
Torque: 30.4 N*m (310 kgf*cm, 22 ft.*Lbf)
Hint:
Install the flexible hose lock securely in the lock hole in the cylinder.
- Fill reservoir with brake fluid (see page br- 6)
- Bleed air from brake master cylinder (see page br-7)
- Bleed air from brake line (see page br-7)
- Bleed air from abs and traction actuator assembly (see page br-8)
- Check brake fluid level in reservoir (see page br-6)
- Check for brake fluid leakage
- Install rear wheel torque: 103 n*m (1,050 kgf*cm, 76 ft.*Lbf)
 Rear brake
Components
Removal
Hint:
Use the same procedures for the lh side and rh side.
The procedures listed below are for the lh side.
Remove rear wheel
Drain brake fluid
Notice:
W ...
 Rear brake flexible hose
Installation
Hint:
Use the same procedures for the lh side and rh side.
The procedures listed below are for the lh side.
Install rear brake tube flexible hose
Notice:
The gasket and u ...
Other materials:
Coolant
Replacement
Remove no. 1 Engine under cover
Drain engine coolant
Loosen the radiator drain cock plug.
Hint:
Collect the coolant in a container and dispose of it
according to the regulations in your area.
Remove the radiator reservoir cap.
Caution:
Do not remove the radiator ...
Removal
Discharge fuel system pressure (see page
fu-9)
Disconnect cable from negative battery
terminal
Caution:
Wait at least 90 seconds after disconnecting the
cable from the negative (-) battery terminal to
prevent airbag and seat belt pretensioner activation.
Remove radiator support op ...
Inspection
Inspect no. 1 Chain tensioner
Check that the plunger moves smoothly when the
ratchet pawl is raised with your finger.
Release the ratchet pawl, then check that the
plunger is locked in place by the ratchet pawl and
does not move when pushed with your finger.
Inspect chain ...
