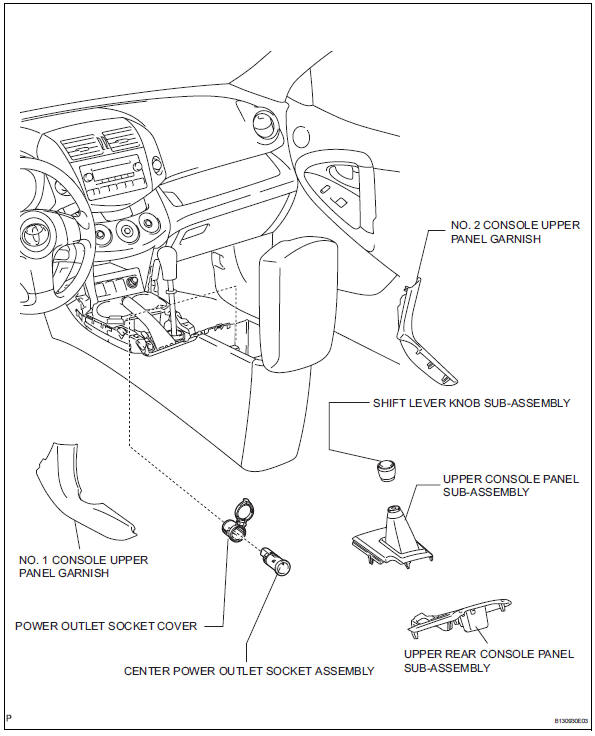
Toyota RAV4 (XA40) 2013-2018 Service Manual: Center power outlet socket
Components
Removal
- Disconnect cable from negative battery terminal
Caution:
Wait at least 90 seconds after disconnecting the cable from the negative (-) battery terminal to prevent airbag and seat belt pretensioner activation.
- Remove no. 1 Console upper panel garnish (see page ip-17)
- Remove no. 2 Console upper panel garnish (see page ip-18)
- Remove shift lever knob sub-assembly
- Remove upper console panel sub-assembly (see page ip-18)
- Remove upper rear console panel subassembly (see page ip-19)
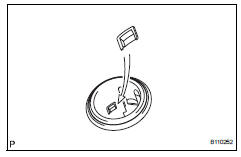
- Remove center power outlet socket assembly
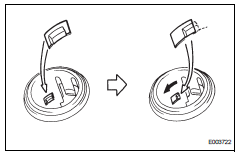
- Rotate the socket to disengage the notch.
- Pull out the socket halfway and rotate the socket until its protrusion is aligned with the groove of the cover.
- Remove the socket from the cover.
Installation
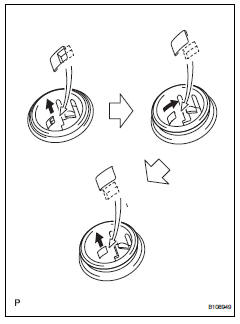
- Install center power outlet socket assembly
- Align the protrusion on the backside of the socket with the groove of the cover. Then push the socket into the cover.
- Install upper rear console panel subassembly (see page ip-27)
- Install upper console panel sub-assembly (see page ip-27)
- Install shift lever knob sub-assembly
- Install no. 2 Console upper panel garnish (see page ip-28)
- Install no. 1 Console upper panel garnish (see page ip-28)
- Connect cable to negative battery terminal
 Power outlet socket
Components
Removal
Disconnect cable from negative battery
terminal
Caution:
Wait at least 90 seconds after disconnecting the
cable from the negative (-) battery terminal to
prevent ai ...
 Center power outlet socket (for ac power supply)
Components
Removal
Disconnect cable from negative battery
terminal
Caution:
Wait at least 90 seconds after disconnecting the
cable from the negative (-) battery terminal to
prevent ai ...
Other materials:
How to proceed with troubleshooting
Hint:
Use these procedures to troubleshoot the engine immobiliser
system.
*: Use the intelligent tester.
Vehicle brought to workshop
Inspect battery voltage
Standard voltage:
11 to 14 v
If the voltage is below 11 v, recharge or replace the battery
before proceeding.
cran ...
Windshield wipers and
washer
Operating the lever can
switch between automatic
operation and manual operation,
or can use the
washer.
NOTICE
â– When the windshield is dry
Do not use the wipers, as they
may damage the windshield.
Operating the wiper lever
Operating the lever operates
the wipers or washer as follows:
Intermittent ...
Diagnosis system
Description
Air conditioning system data and the diagnostic
trouble codes (dtcs) can be read through the
data link connector 3 (dlc3) of the vehicle. When
the system seems to be malfunctioning, use the
intelligent tester to check for malfunctions and
perform troubleshooting.
...
