Toyota RAV4 (XA40) 2013-2018 Service Manual: Reassembly
- Install cooler (solar sensor) thermistor (for automatic air conditioning system)
- Install automatic light control sensor (for automatic light control system)
- Install front passenger airbag assembly (see page rs-351)
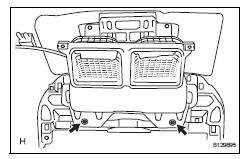
- Install no. 2 Instrument panel register assembly
- Install no. 1 Instrument panel register assembly
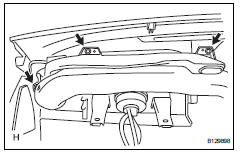
- Install no. 3 Heater to register duct
- Install the duct with the 2 screws.
- Install no. 2 Heater to register duct

- Install the duct with the screw.
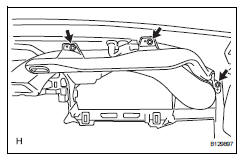
- Install no. 1 Heater to register duct
- Install the duct with the screw.
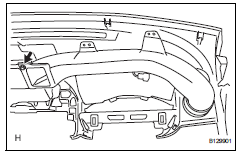
- Install no. 2 Side defroster nozzle duct
- Install the duct with the 3 screws.
- Install no. 1 Side defroster nozzle duct
- Install the duct with the 3 screws.
 Disassembly
Remove no. 1 Side defroster nozzle duct
Remove the 3 screws and duct.
Remove no. 2 Side defroster nozzle duct
Remove the 3 screws and duct.
Remove no. 1 Heater to re ...
 Installation
Install upper instrument panel
Attach the 6 clips and 5 claws to install the
instrument panel.
Connect the connectors and clamps.
Install the 2 bolts and 2 screws.
Connect the ...
Other materials:
Problem symptoms table
Hint:
Use the table below to help determine the cause of the
problem symptom. The potential causes of the symptoms are
listed in order of probability in the "suspected area" column
of the table. Check each symptom by checking the suspected
areas in the order they are listed. Replace p ...
Replacement
Replace intake valve guide bush
Heat the cylinder head to 80 to 100°c (176 to
212°f).
Place the cylinder head on wooden blocks.
Using sst and a hammer, tap out the guide bush.
Sst 09201-10000 (09201-01050), 09950-70010
(09951-07100)
Heat the cylinder head to 80 to 10 ...
Calibration
Description
After replacing components relating to the vsc or
performing "front wheel alignment adjustment",
clear and read the sensor calibration data.
Follow the chart to perform calibration.
Clear zero point calibration data (when using
intelligent tester)
...
