
Toyota RAV4 (XA40) 2013-2018 Service Manual: Camshaft position sensor
Components
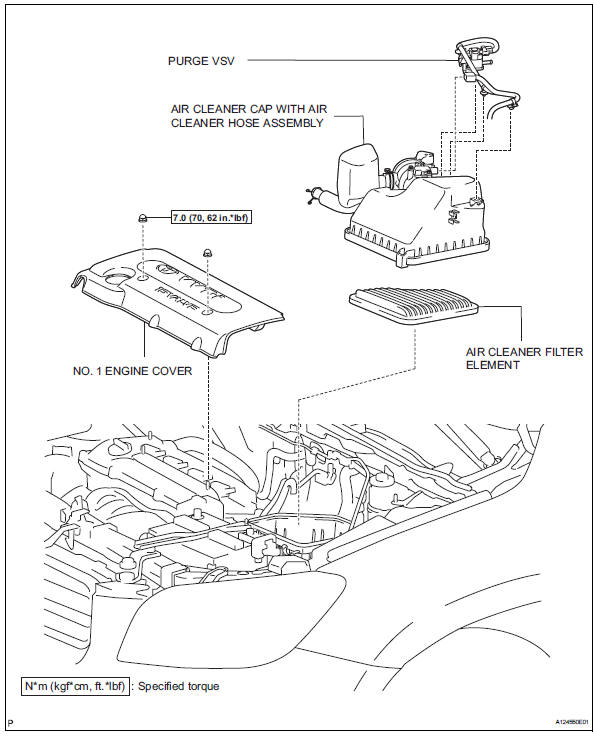
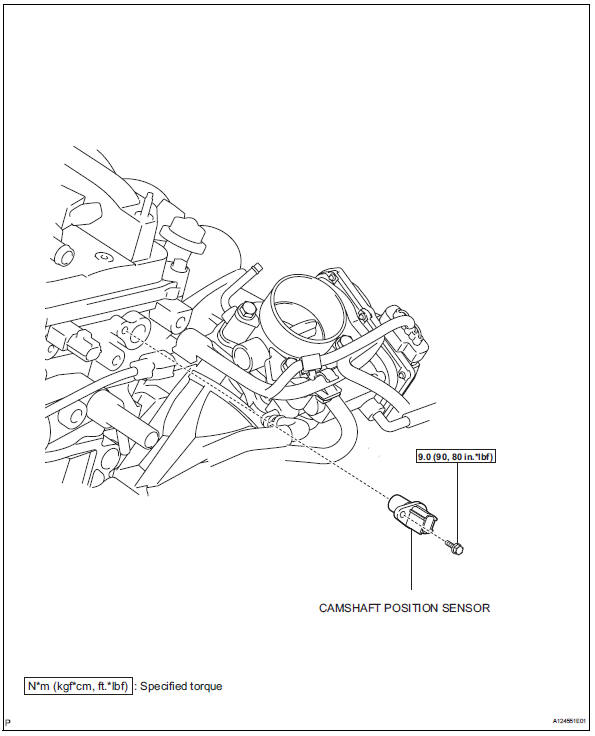
 Installation
Install camshaft timing oil control valve
assembly
Apply a light coat of engine oil to the o-ring of the oil
control valve.
Install the oil control valve with the bolt.
Torque: 9 ...
 Removal
Disconnect cable from negative battery
terminal
Caution:
Wait at least 90 seconds after disconnecting the
cable from the negative (-) battery terminal to
prevent airbag and seat belt preten ...
Other materials:
Security indicator light circuit
Description
When the transponder key is registered, the transponder key ecu indicates the
key registration condition
by lighting up, blinking or turning off the security indicator.
Wiring diagram
Inspection procedure
Perform active test by intelligent tester (security indicator light)
...
Removal
Disconnect cable from negative battery
terminal
Caution:
Wait at least 90 seconds after disconnecting the
cable from the negative (-) battery terminal to
prevent airbag and seat belt pretensioner activation.
Remove radiator support opening cover
Remove front wheel rh
Remove no. 1 ...
Seat belts
Make sure that all occupants
are wearing their seat
belts before driving the
vehicle.
WARNING
Observe the following precautions
to reduce the risk of injury in the
event of sudden braking, sudden
swerving or an accident.
Failure to do so may cause death
or serious injury.
â– Wearing a seat belt
E ...
