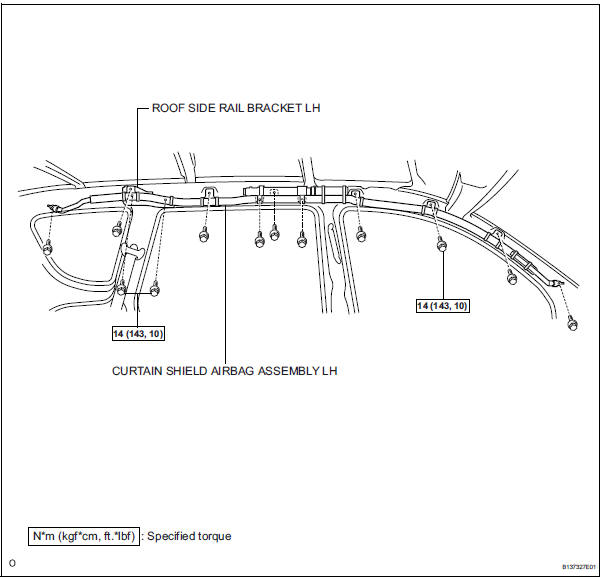
Toyota RAV4 (XA40) 2013-2018 Service Manual: Curtain shield airbag assembly
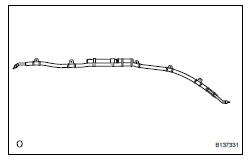
Components
On-vehicle inspection

- Check curtain shield airbag assembly (vehicle not involved in collision)
- Perform a diagnostic system check (see page rs- 49).
- With the curtain shield airbag assembly installed on the vehicle, perform a visual check. If any of the defects mentioned below are present, replace the curtain shield airbag with a new one: cuts, minute cracks or marked discoloration on the curtain shield airbag assembly.
If any of the defects mentioned above are present, replace the curtain shield airbag with a new one.
Caution:
For removal and installation of the curtain shield airbag, be sure to follow the correct procedure.
- Check curtain shield airbag assembly (vehicle involved in collision and airbag has not deployed)
- Perform a diagnostic system check (see page rs- 49).
- With the curtain shield airbag removed from the vehicle, perform a visual check. If there are any defects as mentioned below, replace the curtain shield airbag with a new one:
- Cuts, minute cracks or marked discoloration on the curtain shield airbag.
- Cracks or other damage to the connectors.
Caution:
For removal and installation procedures of the curtain shield airbag, be sure to follow the correct procedure.
 Disposal
Hint:
When scrapping a vehicle equipped with an srs or disposing
of the front passenger side knee airbag, be sure to deploy the
airbag first in accordance with the procedure described
below. If an ...
 Removal
Hint:
Use the same procedures for the rh side and lh side.
The procedures listed below are for the lh side.
Caution:
Be sure to read the precautionary notices concerning the
srs airbag syst ...
Other materials:
Closing the fuel tank cap
After refueling, turn the fuel tank
cap until you hear a click. Once
the cap is released, it will turn
slightly in the opposite direction.
Caution
When replacing the fuel tank cap
Do not use anything but a genuine toyota fuel tank cap designed for
your
vehicle. Doing so may cause a fire ...
Dtc check / clear
Check dtc
Connect the intelligent tester (with can vim) to the
dlc3.
Turn the ignition switch on and turn the intelligent
tester on.
Read the dtc by following the prompts on the
tester screen.
Hint:
Refer to the intelligent tester operator's manual for
further details.
...
Installation
Install ignition switch assembly
Install the ignition switch with the 2 screws.
Install the ignition key cylinder light connector.
Install the ignition switch connector.
Install steering column cover lower
Attach the 4 claws to install the steering column
l ...
