
Toyota RAV4 (XA40) 2013-2018 Service Manual: Valve body
Components
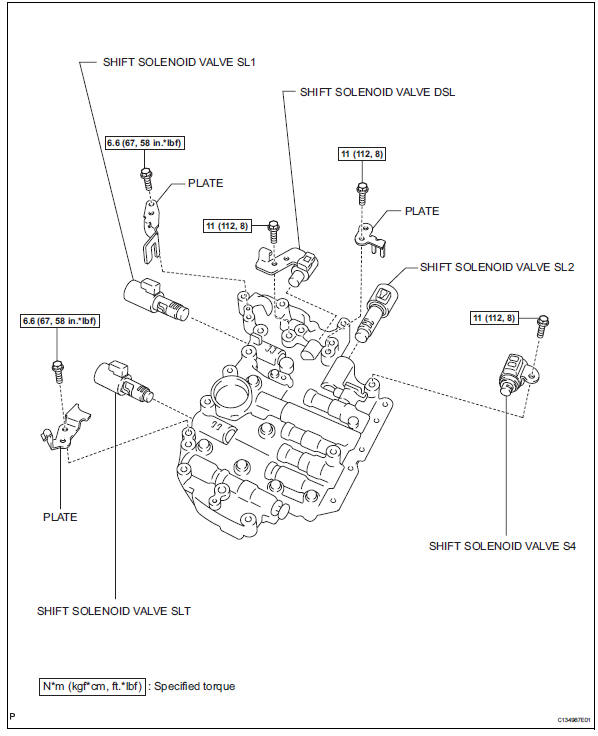
Disassembly
- Remove shift solenoid valve slt
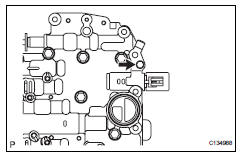
- Remove the bolt, plate and shift solenoid valve slt from the valve body.
- Remove shift solenoid valve sl1
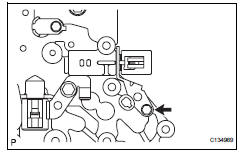
- Remove the bolt, plate and shift solenoid valve sl1 from the valve body.
- Remove shift solenoid valve dsl
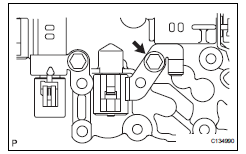
- Remove the bolt and shift solenoid valve dsl from the valve body.
- Remove shift solenoid valve sl2
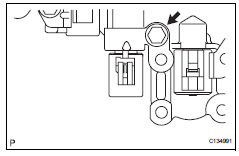
- Remove the bolt, plate and shift solenoid valve sl2 from the valve body.
- Remove shift solenoid valve s4
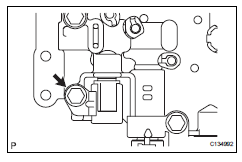
- Remove the bolt and shift solenoid valve s4 from the valve body.
- Remove manual valve
- Remove the manual valve from the valve body.
Reassembly
- Install manual valve
- Install the manual valve to the valve body.
- Install shift solenoid valve s4
- Install the shift solenoid valve s4 to the valve body with the bolt.
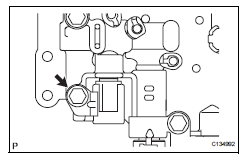
Torque: 11 n*m (112 kgf*cm, 9 ft.*Lbf)
- Install shift solenoid valve sl2
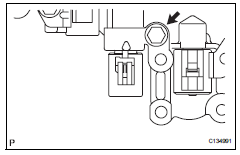
- Install the shift solenoid valve sl2 to the valve body with the bolt and plate.
Torque: 11 n*m (112 kgf*cm, 8 ft.*Lbf)
- Install shift solenoid valve dsl
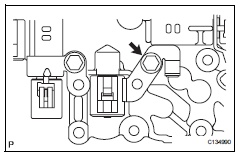
- Install the shift solenoid valve dsl to the valve body with the bolt.
Torque: 11 n*m (112 kgf*cm, 8 ft.*Lbf)
- Install shift solenoid valve sl1
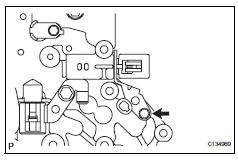
- Install the shift solenoid valve sl1 to the valve body with the bolt and plate.
Torque: 6.6 N*m (67 kgf*cm, 58 in.*Lbf)
- Install shift solenoid valve slt
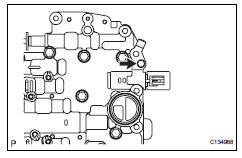
- Install the shift solenoid valve slt to the valve body with the bolt and plate.
Torque: 6.6 N*m (67 kgf*cm, 58 in.*Lbf)
 Underdrive clutch
Components
Disassembly
Inspect pack clearance of underdrive
clutch (see page ax-247)
Remove no. 1 Underdrive clutch disc
Using a screwdriver, pry out the underdrive clutch
fla ...
 Differential case
Components
Disassembly
Remove front differential ring gear
Place the matchmarks on the ring gear and
differential case.
Remove the 14 bolts.
Using a plastic-fa ...
Other materials:
List screen operation
When a list screen is displayed, use the appropriate buttons to
scroll through the list.
How to scroll
Select to scroll to the next
or previous page.
Appears to the right of
titles, the complete titles are
too long for the display. Select
this button to scroll the title.
Turn th ...
Problem symptoms table
Hint:
Use the table below to help determine the cause of the
problem symptom. The potential causes of the symptoms
are listed in order of probability in the "suspected area"
column of the table. Check each symptom by checking the
suspected areas in the order they are listed. Re ...
Diagnosis system
Check dlc3
The ecm uses iso 15765-4 for communication. The
terminal arrangement of the dlc3 complies with sae
j1962 and matches the iso 15765-4 format.
If the result is not as specified, the dlc3 may have a
malfunction. Repair or replace the harness and
connector.
Hint:
Conn ...
